Table of Contents
This is an old revision of the document!
Single-Player Campaign
Overview
Star Trek: Voyager Elite Force features a Single-Player Campaign consisting of 6 major missions in 44 sub chapters (not counting the tutorial or the holodeck parts).
The player plays the protagonist, Alex Munro. Depending on which setting the player chose, the character is either male (Alexander Munro) or female (Alexandria Munro). After the team leader, Lester Foster, Alex Munro is the second in command of the so-called »Hazard Team«, kind of a Star Trek adaptation of a SWAT team.
Warning: This article will spoiler heavily. If you haven't played the game, yet, you might want to stop reading this article and try the game first.
Simulated Borg Mission
The Rescue
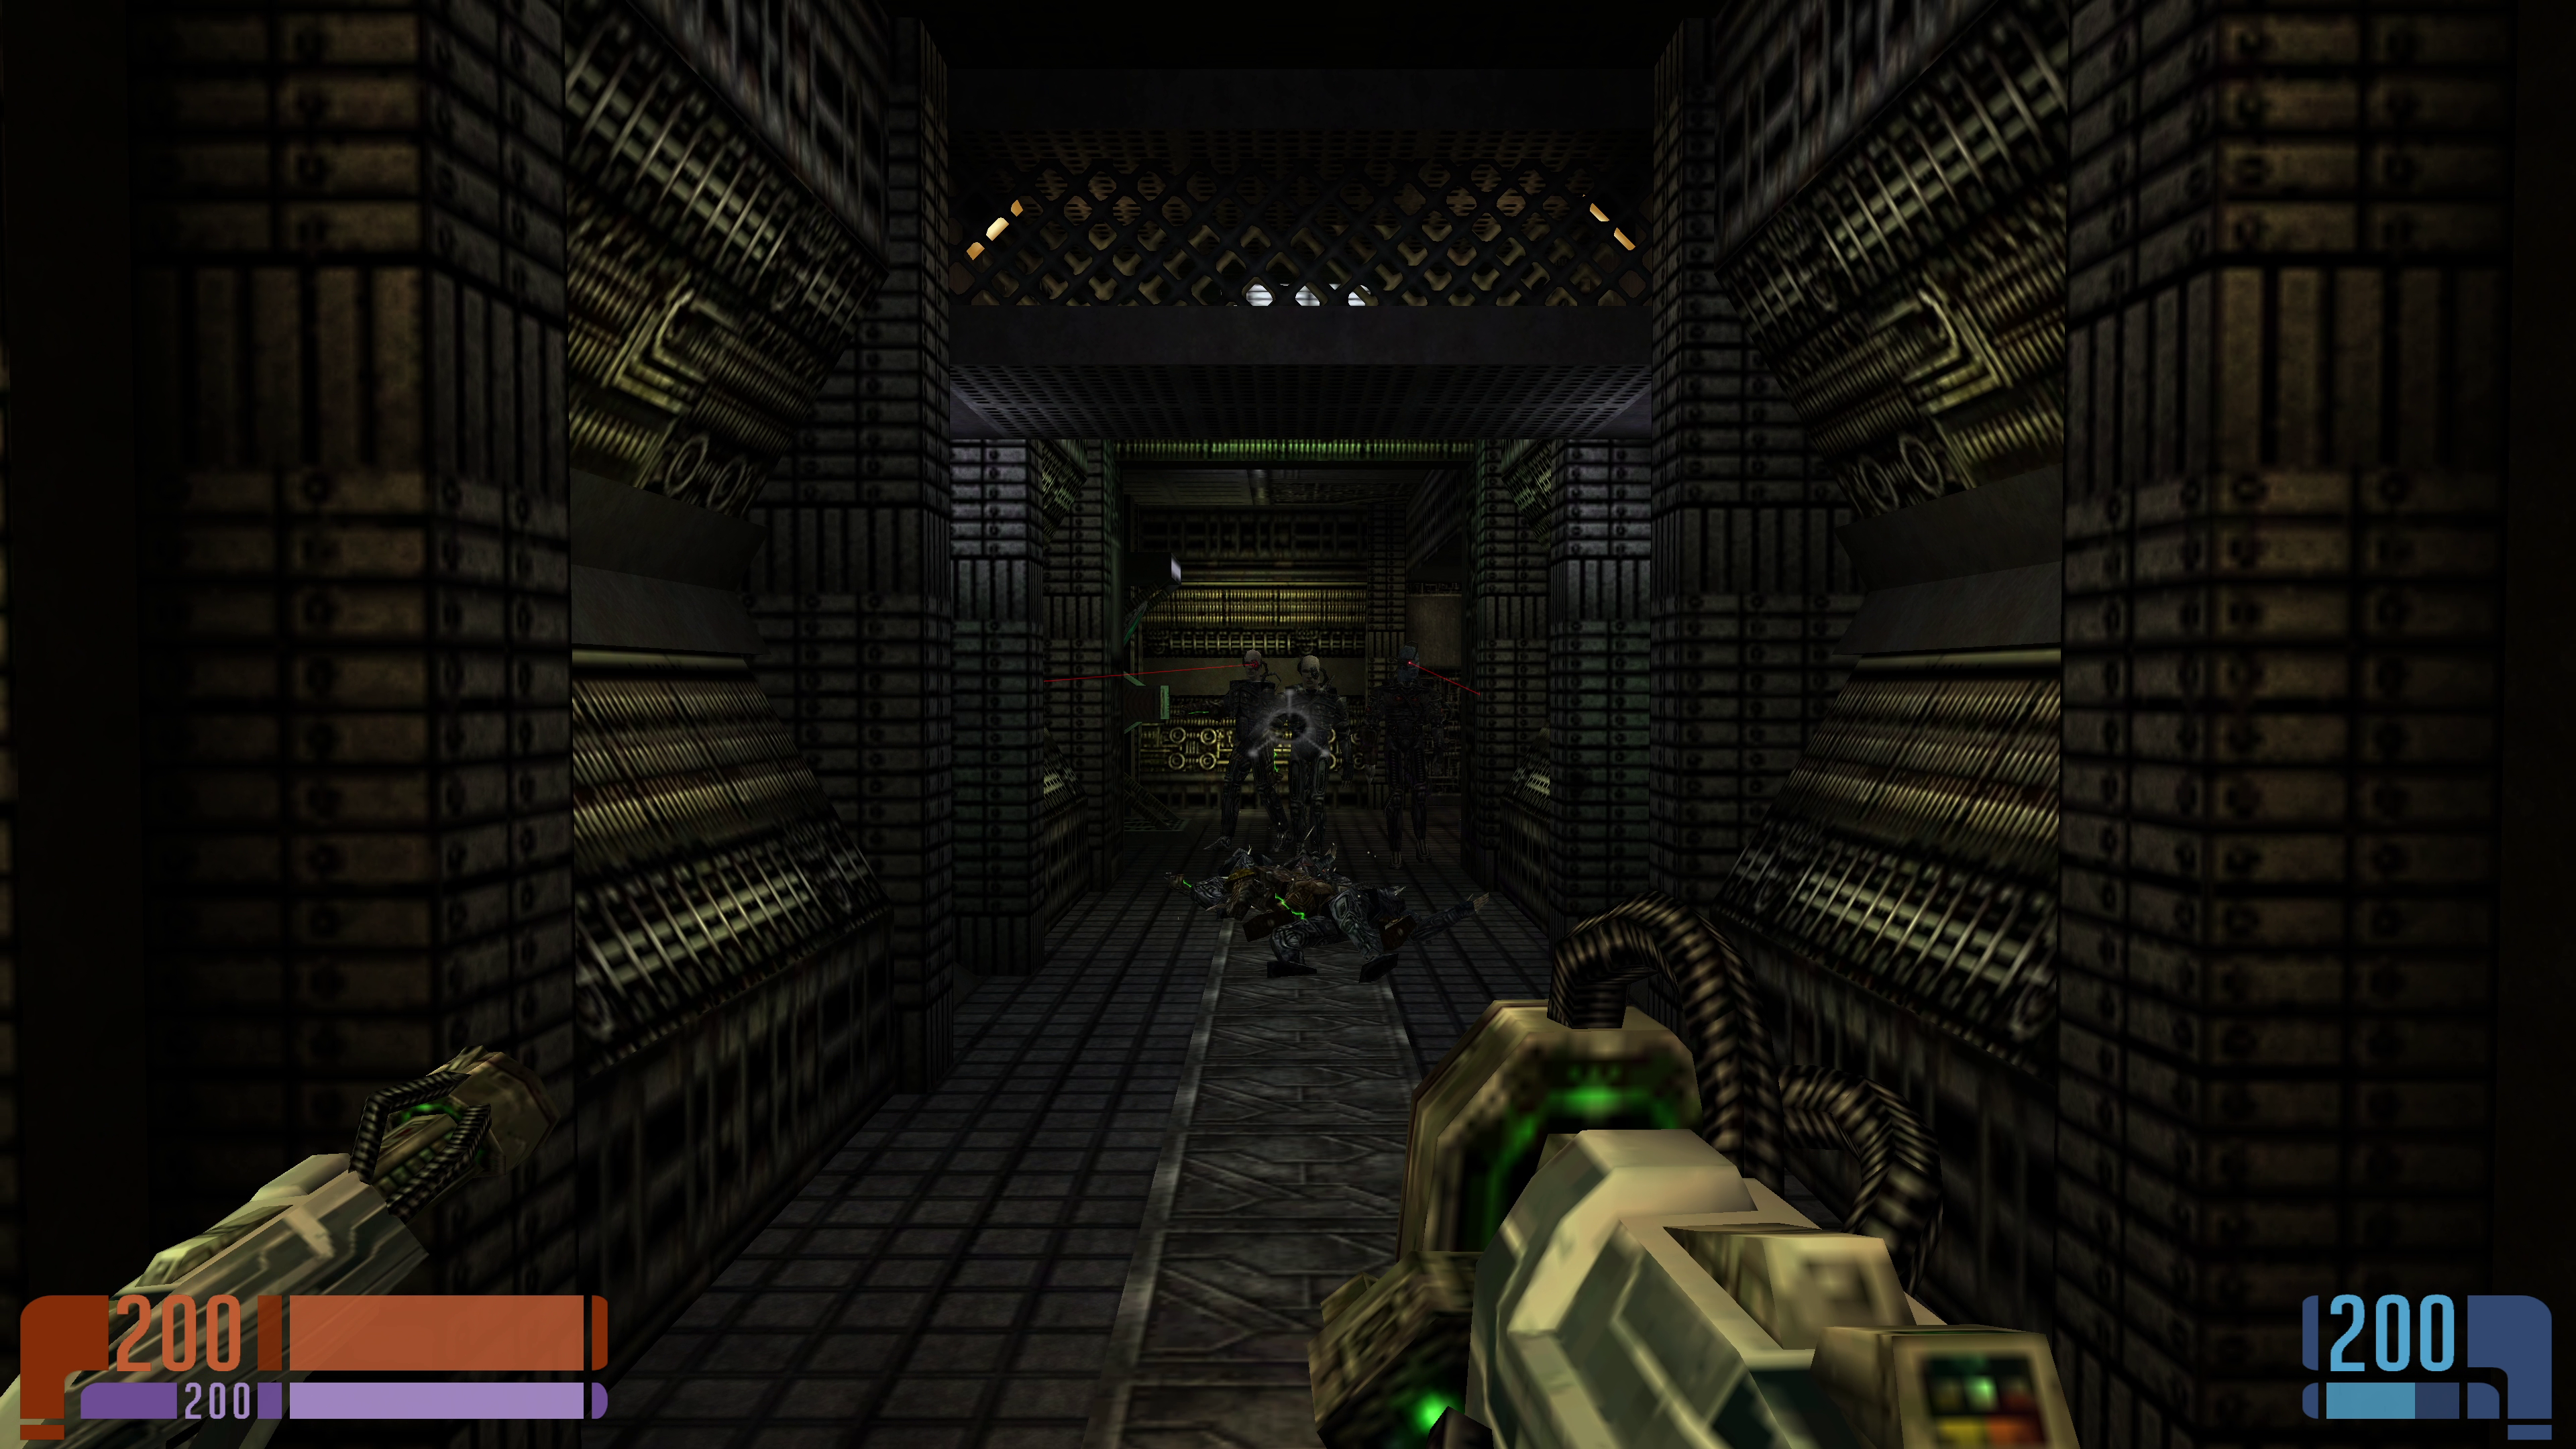
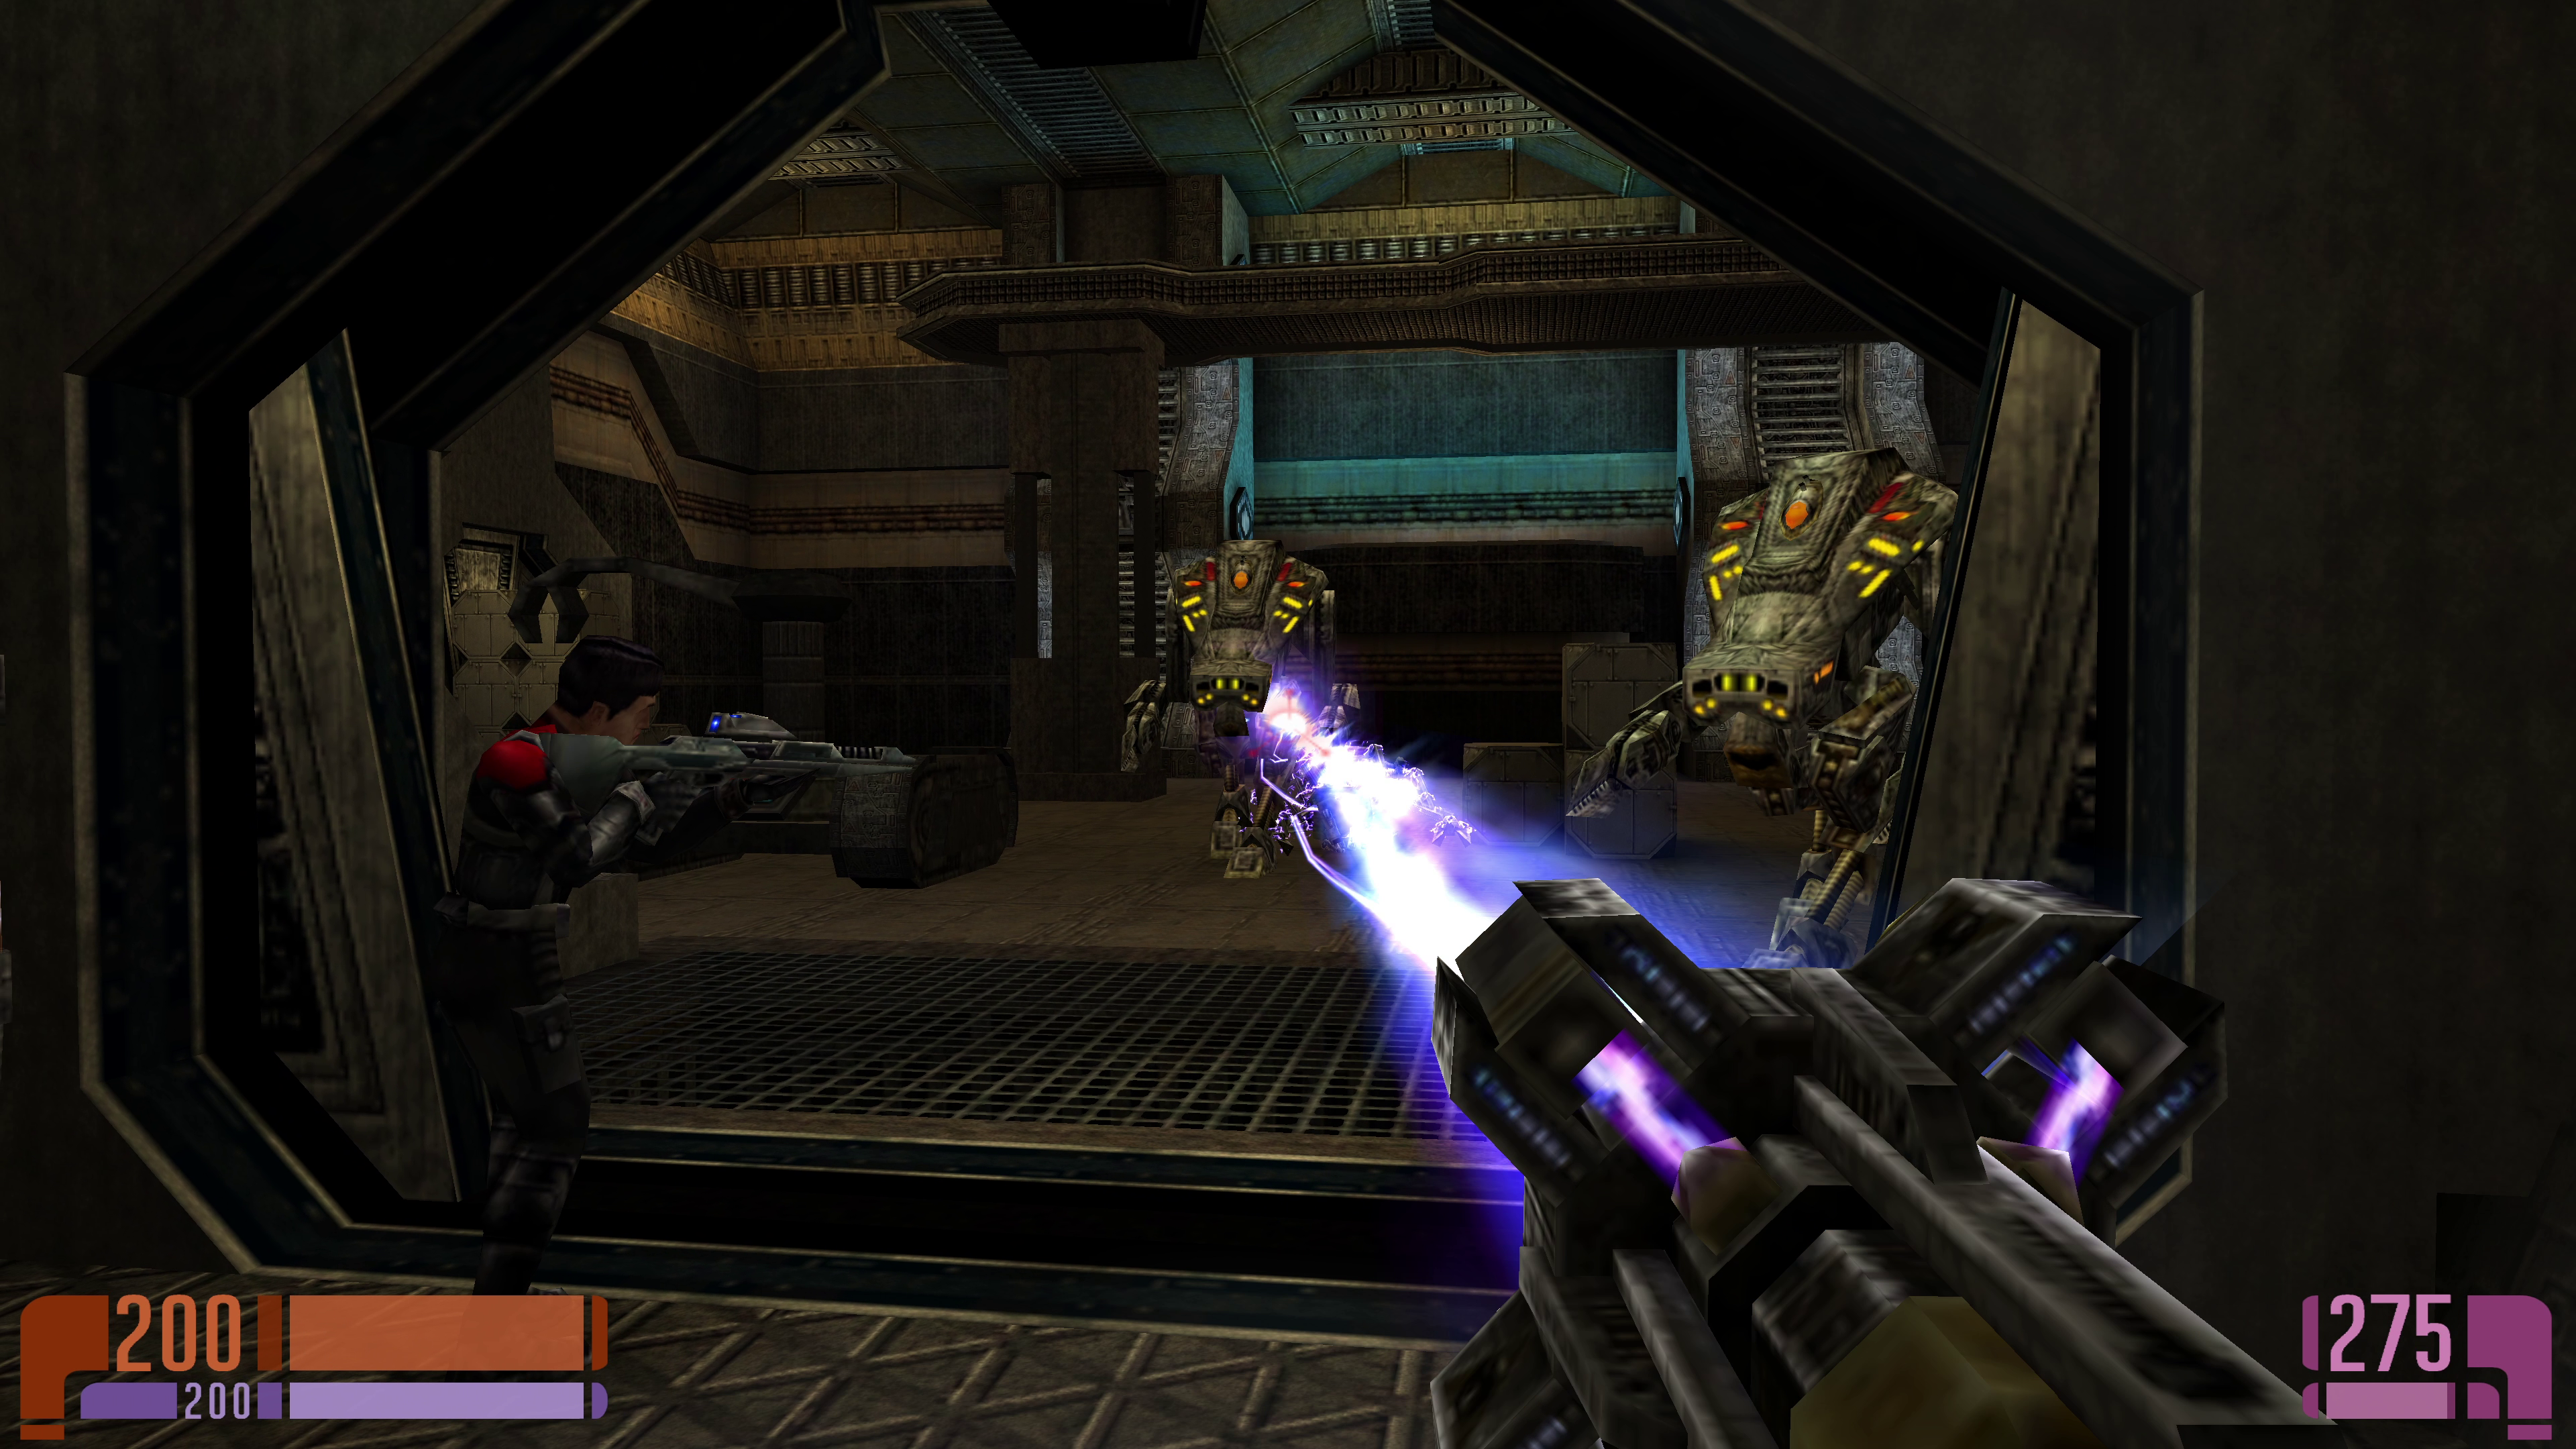
The first mission is actually a holodeck simulation. Your stated task is to rescue your fellow team mates from a borg ship and retrieve a newly designed weapon, capable of damaging Borg continuously (adaption fails). You can progress up to the point where you collect the I-Mod and free your first team member, Kendrick Biessman. You continue on and encounter two other team members, Thomas Odell and Kenn Lathrop. Both beam back to Voyager.
After some further exploration you leave Biessman alone for a moment, to check out some maintenance tubes. While you achieve to deactivate a blocking force field, Biessman is attacked by Borg and not to be seen any more. From that point on Munro is alone.
At certain locations you will find destroyable grates, plasma filters and distribution nodes. When destroying the latter, all borg in the vicinity become inactive. Plasma filters deal damage, when destroyed, but can also open passage, similar to the grates. Important: Borg will adapt to your phaser weapons really quickly, leaving them invulnerable to them after a few shots. So try to avoid a direct fight. Once you have the newly introduced I-Mod, you are free to fire at your own discretion. Health and ammunition terminals are scattered along the way.
Mission map: borg1
Incursion
Munro goes on alone, encountering Austin Chang, who beams back to Voyager as he already got injured.
Mission map: borg2
Tactical Decision
This chapter starts out on the Borg ship, where Munro finds Chell, who is trapped behind a force field. When trying to free him, Munro decides to shoot the control panel of the force field, which ends the simulation. The simulated mission failed, leaving Munro being lectured by Tuvok about not having followed protocol.
Mission map: voy1
Intermission at Voyager 1
Hazard Team
Voyager is under attack by a ship which sent a fake distress call. Once the attacking ship is about to be destroyed, Voyager is transported to a different location, at which already a lot of other derelict ships are present.
After the scene the intro of Star Trek: Voyager Elite Force is playing.
Mission map: voy1
Unavoidable Delays
A containment leak in the warp core is threatening to destroy Voyager. Munro is sent to help out with the problem but encounters a series of delays, from a EPS conduit rupture to a collapsing Jeffreys tube to a power overload and blocking force fields.
Mission map: voy2
Hazard Duty
After overcoming some minor obstacle Munro arrives at engineering. He is instructed to deactivate the warp core, to prevent a breach. After decoupling the Dilithium matrix, the core is offline. Chakotay gives out a general announcement, stating, Voyager is under attack and has been boarded. The hazard team is ordered to report to Deck 8, loading dock.
During the actual shut down attempt, wandering too close to the warp core may result in injuries.
Mission map: voy3
Defense
Upon arrival at the loading dock number of Humans, Klingons and Malon are already in the process of stealing cargo from the ship. The Hazard team is driving the attackers back. Tuvok requests backup to cargo bay 2, which is also under attack. Munro and Lester Foster help repelling the attack.
This mission introduces the Scavenger Rifle, a weapon similar to a machine pistol with an under-barrel grenade launcher. It is not reloaded by terminals but by collected Dilithium crystals
If you get injured too much, get back to the Doctor, who is waiting at the mission's starting point. He will heal you, if spoken to.
Mission map: voy4 ==== Hazard Ops ====^ This chapter starts out with a briefing by Tuvok, who informs the hazard team about the current situation of Voyager, which is incapacitated for the most part. The teams next mission is laid out, another ship that seems to be vacated but still under power. The mission is to obtain information about the surrounding area. Foster goes into more details: Two teams will be deployed, each starting in another location, named Control Room A and B. Teams are lead by Foster and Munro. To ensure the information gathering mission is a success, the technicians are to by protected in particular.
Munro is to pick up his gear and go to the transporter room. After the briefing the player has the opportunity to talk to some of his team. Once at the Equipment room, quarter master Perfecto Oviedo offers Munro to test his weapons on the holodeck in the High Noon simulation. This is a good opportunity to get a feeling for the Scavenger Rifle.
Mission map: voy5
Holodeck Map: _holodeck_highnoon
Etherian Mission
Data Retrieval
Mission map: stasis1
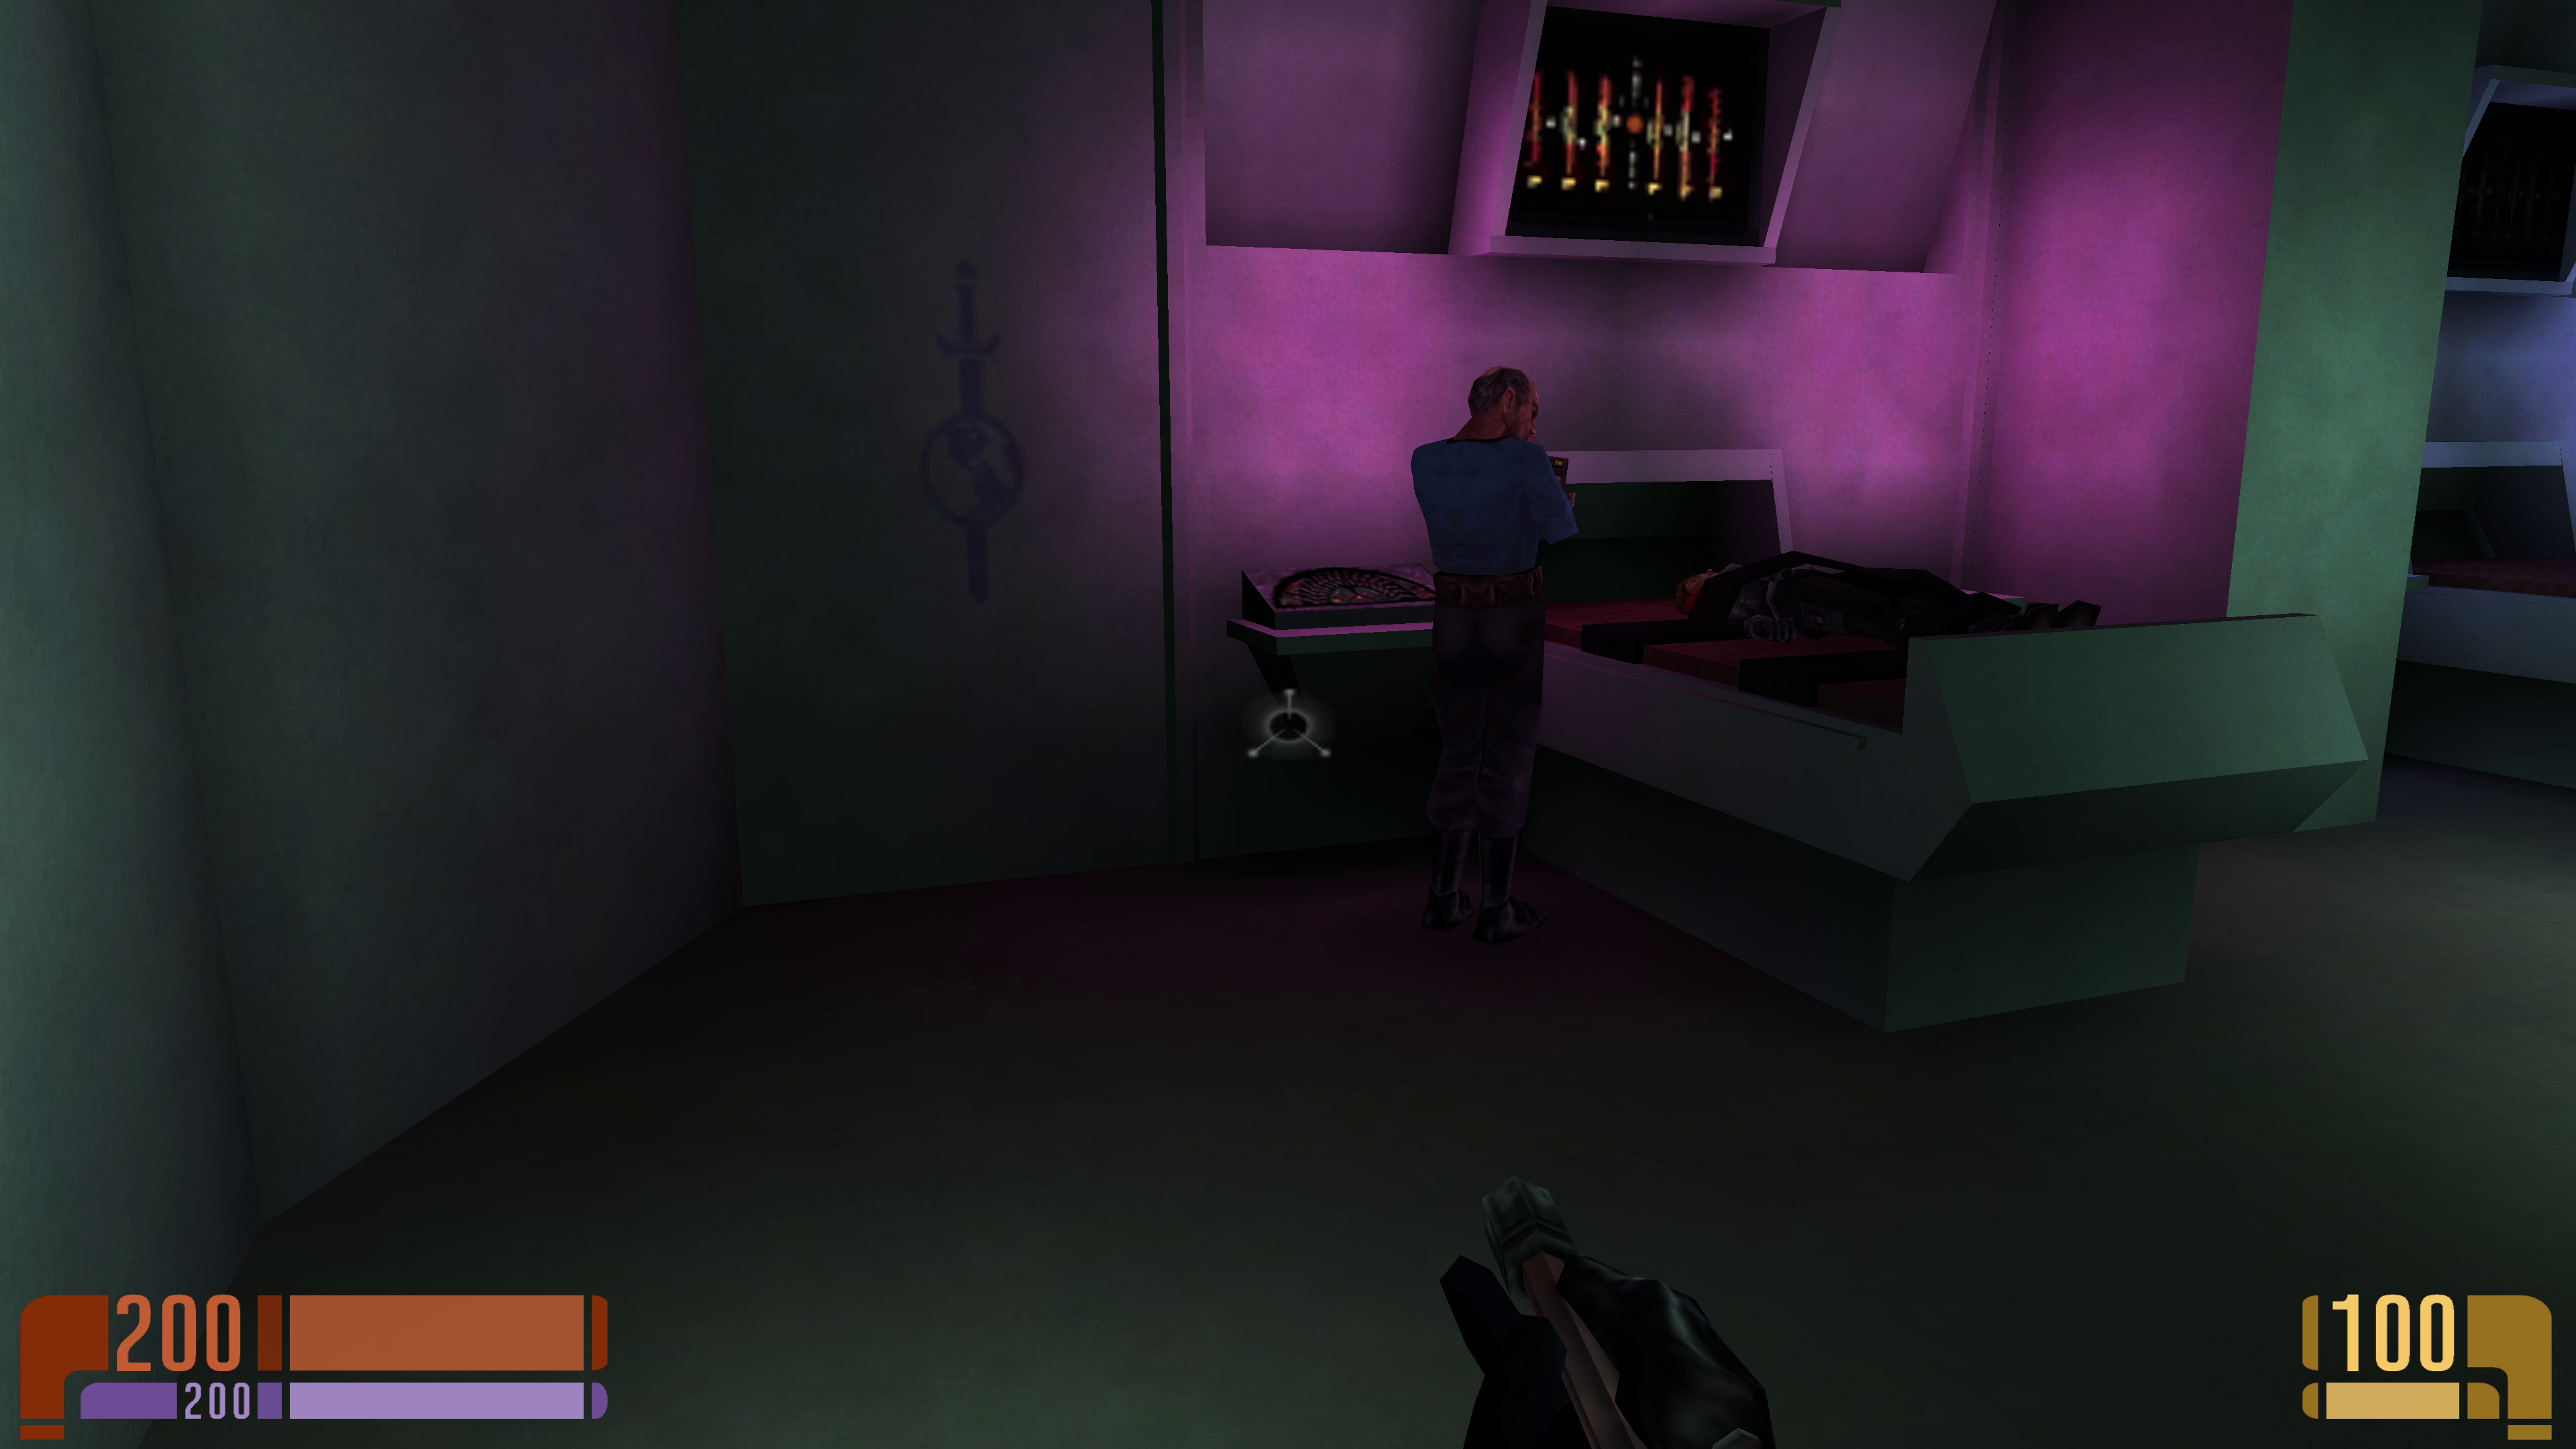
Deep Echos
Mission map: stasis2
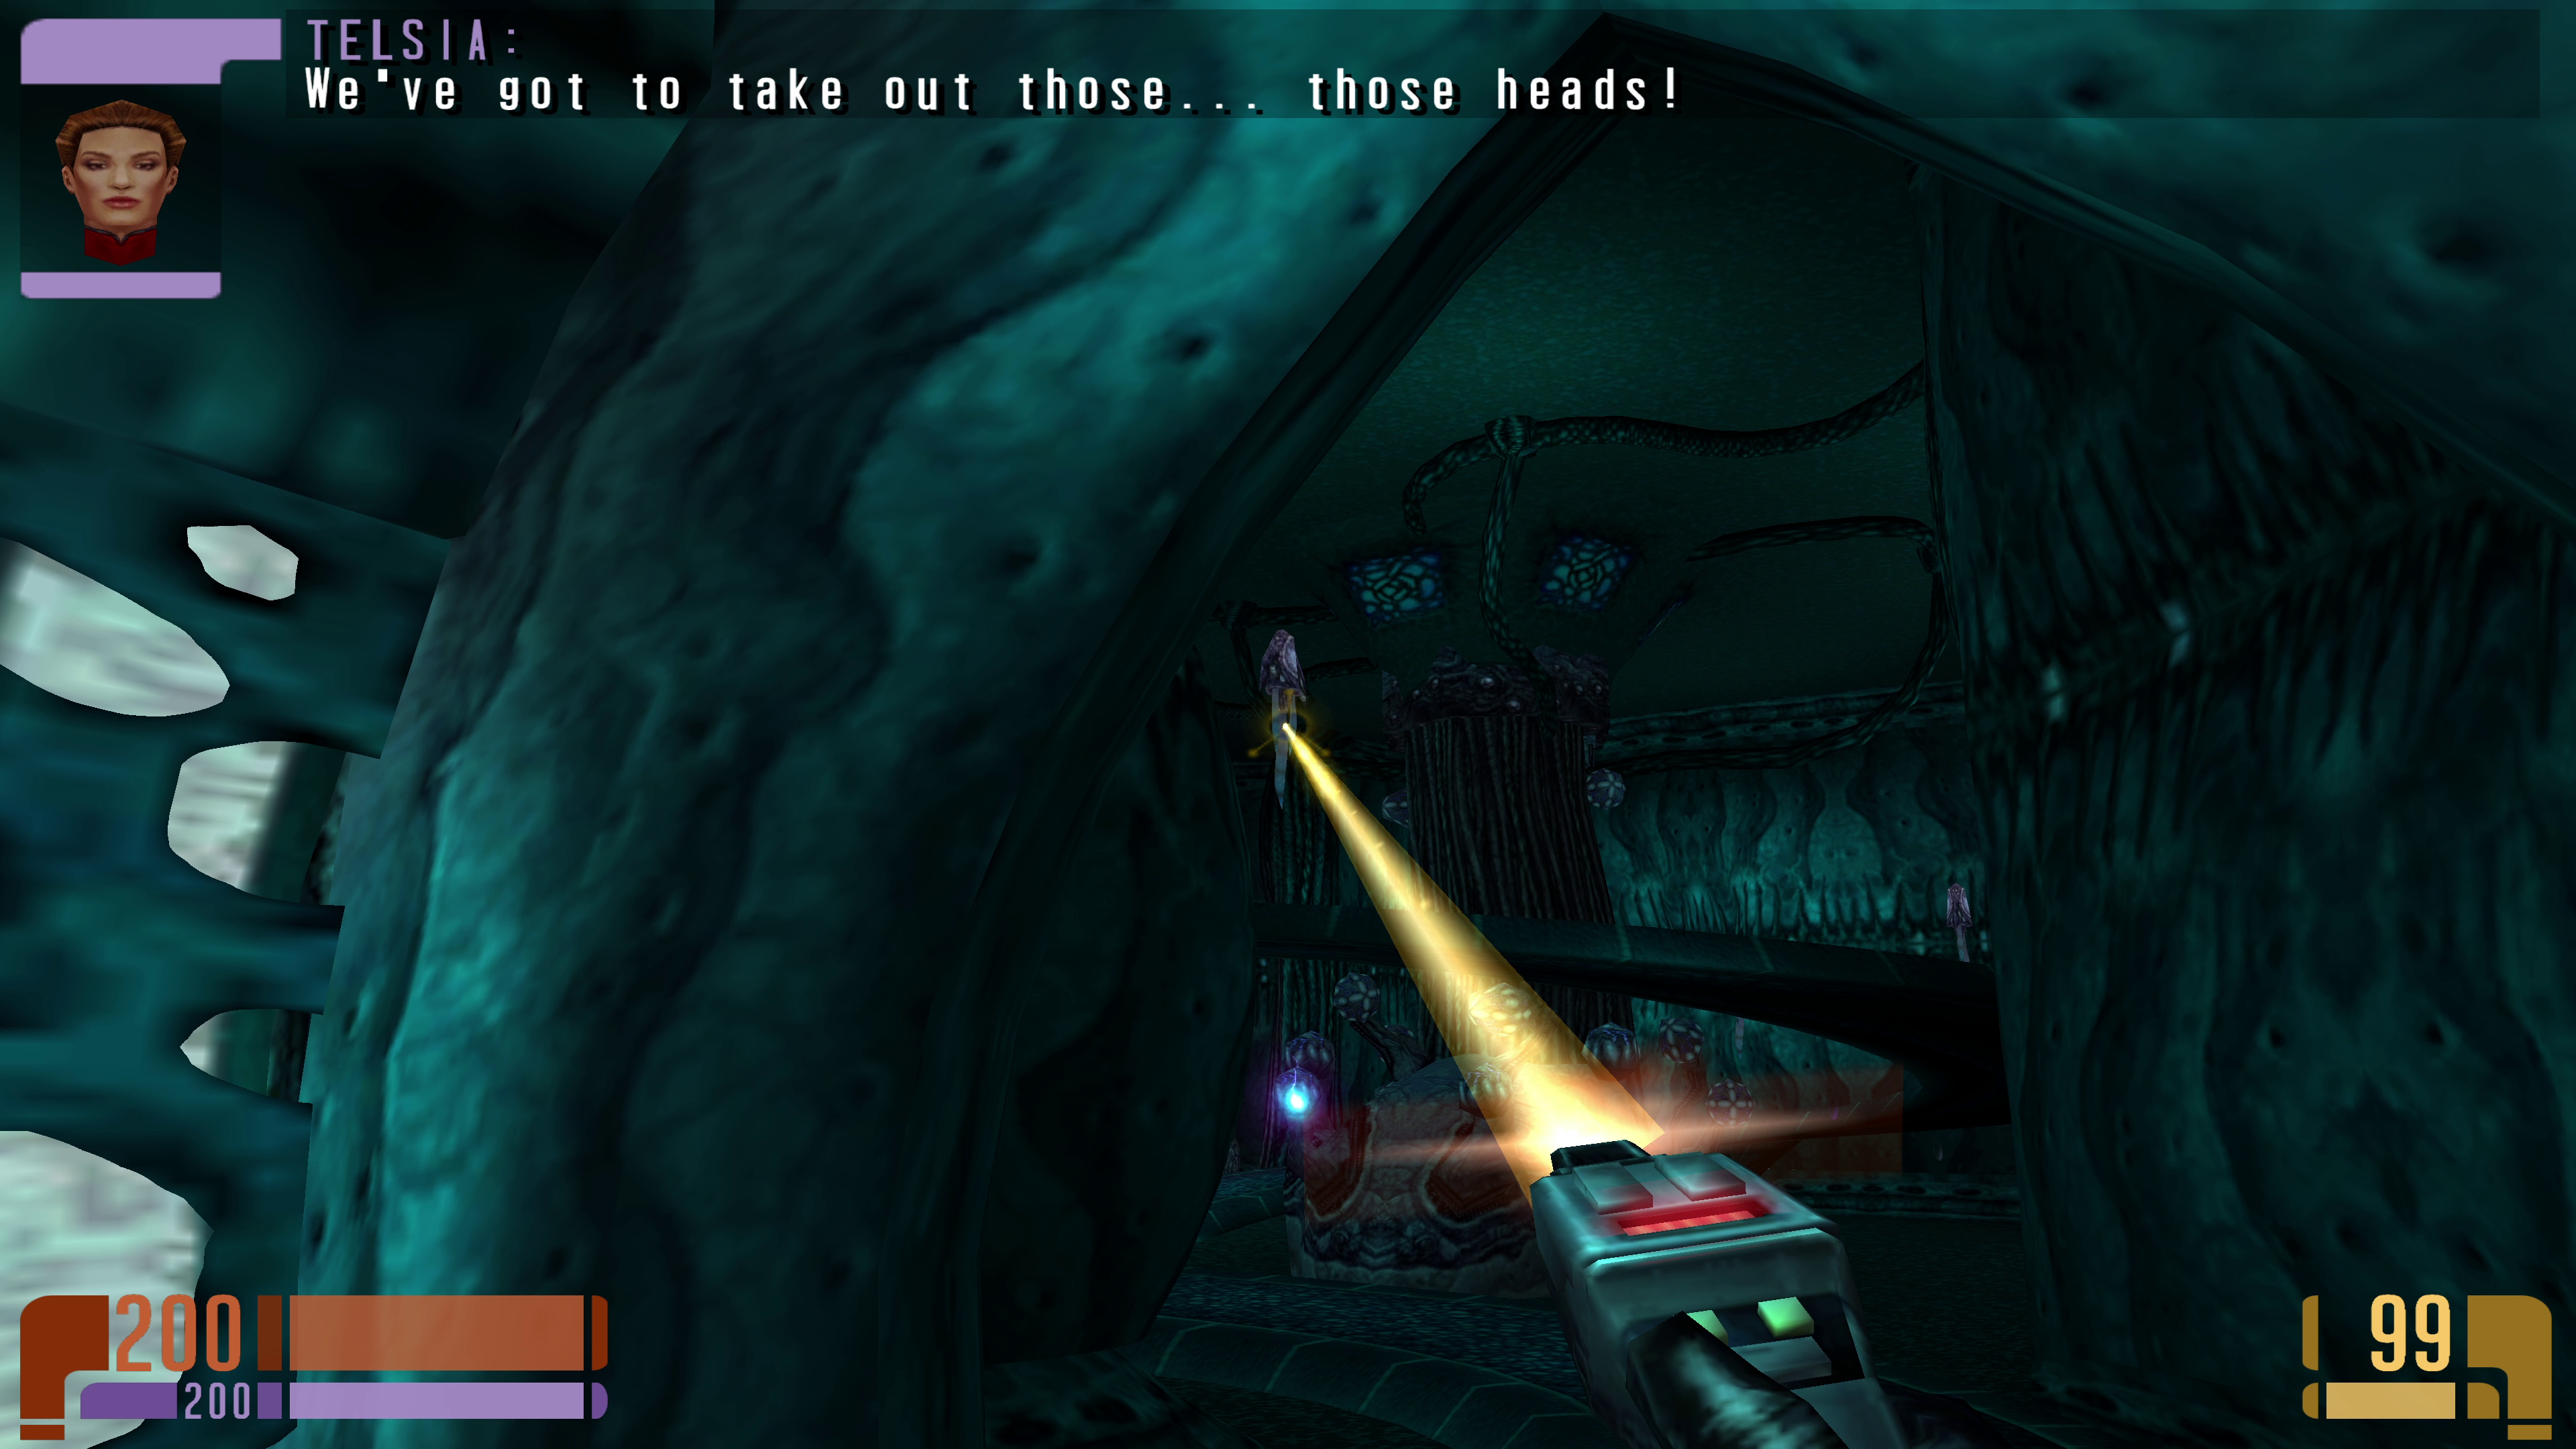
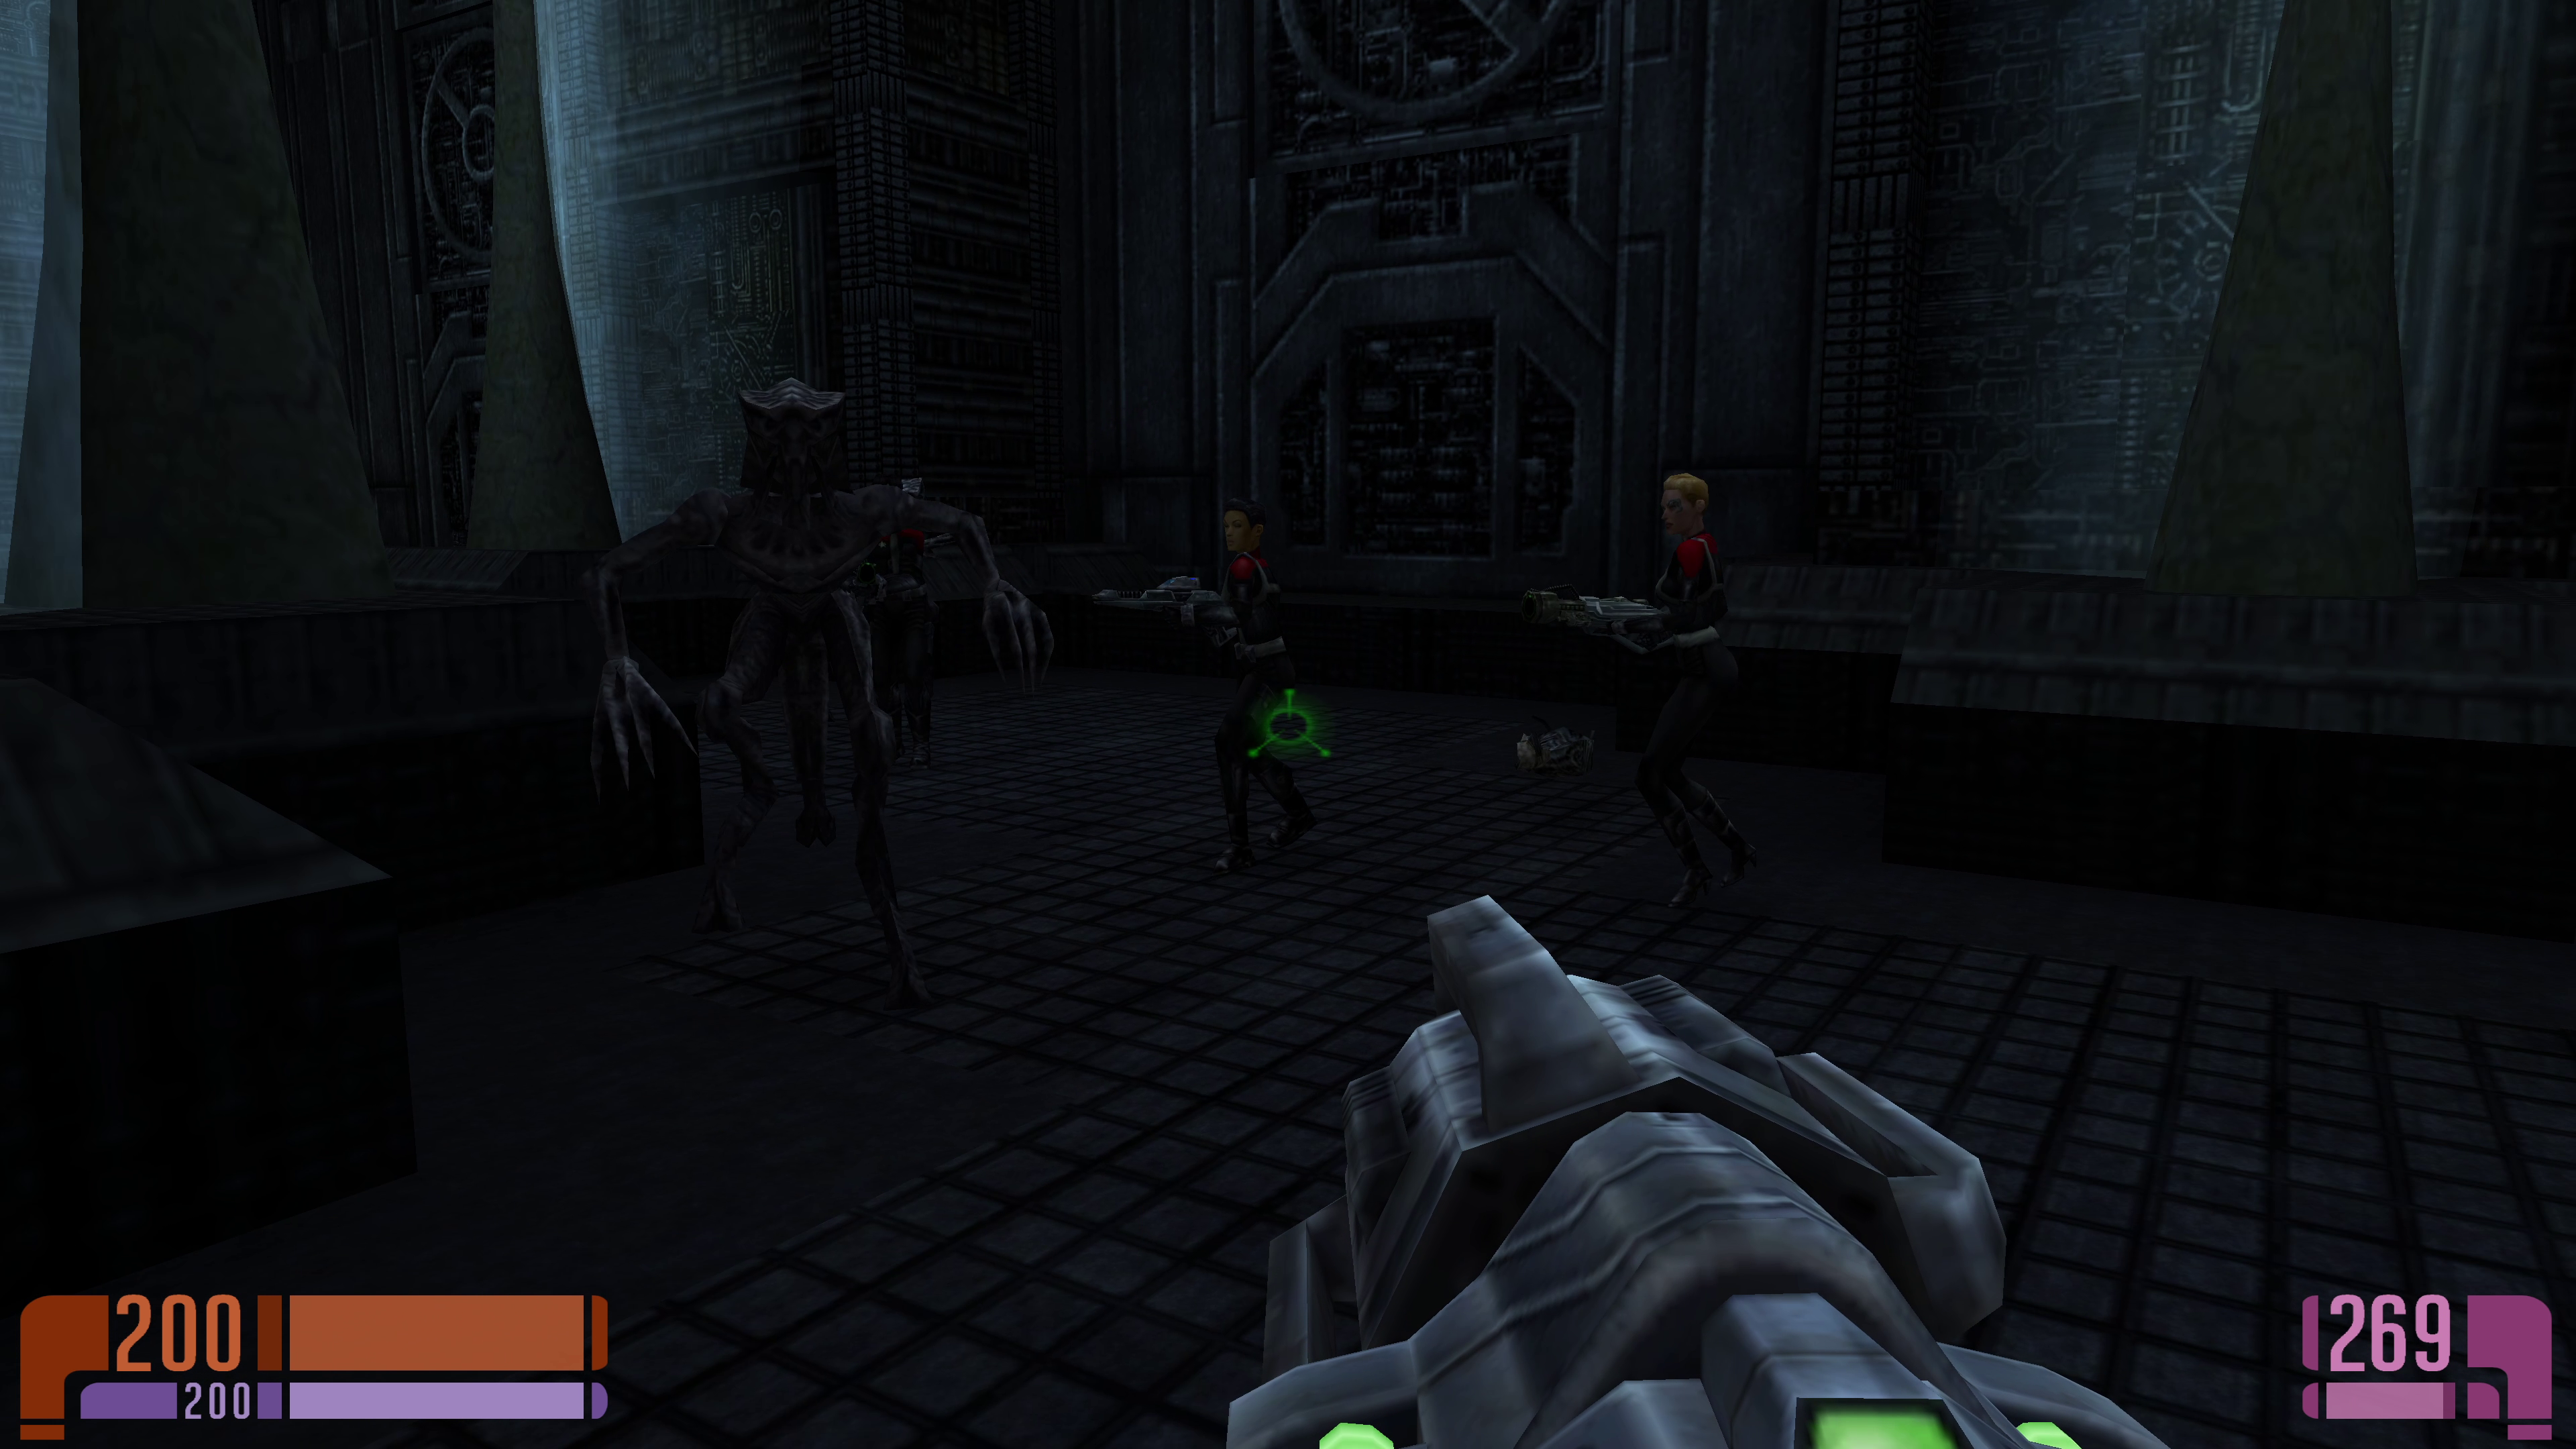
Encounters
Mission map: stasis3
Intermission at Voyager 2
Renewal
Mission map: voy6
Union
Mission map: voy7
Departure
Mission map: voy8
Scavenger Mission
The Visit
Mission map: scav1
Dangerous Ground
Mission map: scav2
Conflicting Views
Mission map: scav3
Conflicting Views (Pt 2)
Mission map: scav3b
Disorder
Mission map: scav4
Infiltration
Mission map: scav5
The Hunter
Mission map: scavboss
Intermission at Voyager 3
Fallout
Mission map: voy9
Borg Mission
Proving Ground
Mission map: borg3
Information
Mission map: borg4
Covenant
Mission map: borg5
Infestation
Mission map: borg6
Intermission at Voyager 4
R & R
This chapter introduces the Photon Burst, which you can test on the holodeck in the Temple simulation.
Holodeck map: _holodeck_temple
Mission map: voy13
Visual Confirmation
Mission map: voy14
Offense
Mission map: voy15
Dreadnought Mission
The Breach
Mission map: dn1
Command
Mission map: dn2
Primary Encounter
Mission map: dn3
The Skirmish
Mission map: dn4
Defensive Measures
Mission map: dn5
Attunement
Mission map: dn6
Array
The fact, that the mission map dn7 seems to missing, suggests, that a part of the campaign got scratched at some point.
Mission map: dn8
Intermission at Voyager 5
Invasion
Mission map: voy16
Decisions
Mission map: voy17
Forge Mission
External Stimuli
Mission map: forge1
Matrix
Mission map: forge2
Onslaught
Mission map: forge3
Visual Magnitude
Mission map: forge4
Dissolution
Mission map: forge5
Command Decision
Mission map: forgeboss
Epilogue at Voyager
Mission map: voy20