Table of Contents
Single-Player Campaign
Overview
Star Trek: Voyager Elite Force features a single-player campaign consisting of 6 major missions in 44 sub chapters (not counting the tutorial or the holodeck parts).
The player plays the protagonist, Alex Munro. Depending on which sex the player chooses, the character is either male (Alexander Munro) or female (Alexandria Munro). After the team leader, Lester Foster, Alex Munro is the second in command of the so-called »Hazard Team«. It's kind of a Star Trek: Voyager adaptation of a SWAT team which gets its first test by reality.
Warning: This article will spoiler heavily. If you haven't played the game, yet, you might want to stop reading this article and try the game first.
Simulated Borg Mission
The Rescue
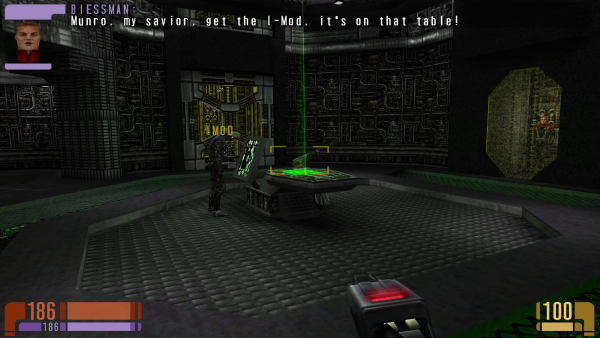
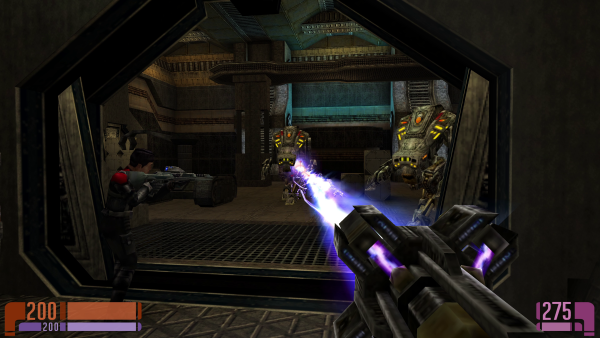
The first mission is actually a holodeck simulation. Your stated task is to rescue your fellow team mates from a borg ship and retrieve a newly designed weapon, capable of damaging Borg continuously (adaption fails). You can progress up to the point where you collect the I-Mod and free your first team member, Kendrick Biessman. You continue on and encounter two other team members, Thomas Odell and Kenn Lathrop. Both beam back to Voyager.
After some further exploration you leave Biessman alone for a moment, to check out some maintenance tubes. While you achieve to deactivate a blocking force field, Biessman is attacked by Borg and not to be seen any more. From that point on Munro is alone.
At certain locations you will find destroyable grates, plasma filters and distribution nodes. When destroying the latter, all borg in the vicinity become inactive. Plasma filters deal damage, when destroyed, but can also open passage, similar to the grates. Important: Borg will adapt to your phaser weapons really quickly, leaving them invulnerable to them after a few shots. So try to avoid a direct fight. Once you have the newly introduced I-Mod, you are free to fire at your own discretion. Health and ammunition terminals are scattered along the way.
Mission map: borg1
Incursion
Munro goes on alone, encountering Austin Chang, who beams back to Voyager as he already got injured.
Mission map: borg2
Tactical Decision
This chapter starts out on the Borg ship, where Munro finds Chell, who is trapped behind a force field. When trying to free him, Munro decides to shoot the control panel of the force field, which ends the simulation. The simulated mission failed, leaving Munro being lectured by Tuvok about not having followed protocol.
Mission map: voy1
Intermission at Voyager 1
Hazard Team
Voyager is under attack by a ship which sent a fake distress call. Once the attacking ship is about to be destroyed, Voyager is transported to a different location, at which already a lot of other derelict ships are present.
After the scene the intro of Star Trek: Voyager Elite Force is playing.
Mission map: voy1
Unavoidable Delays
A containment leak in the warp core is threatening to destroy Voyager. Munro is sent to help out with the problem but encounters a series of delays, from a EPS conduit rupture to a collapsing Jeffreys tube to a power overload and blocking force fields.
Mission map: voy2
Hazard Duty
After overcoming some minor obstacle Munro arrives at engineering. He is instructed to deactivate the warp core, to prevent a breach. After decoupling the Dilithium matrix, the core is offline. Chakotay gives out a general announcement, stating, Voyager is under attack and has been boarded. The hazard team is ordered to report to Deck 8, loading dock.
During the actual shut down attempt, wandering too close to the warp core may result in injuries.
Mission map: voy3
Defense
Upon arrival at the loading dock number of Humans, Klingons and Malon are already in the process of stealing cargo from the ship. The Hazard team is driving the attackers back. Tuvok requests backup to cargo bay 2, which is also under attack. Munro and Lester Foster help repelling the attack.
This mission introduces the Scavenger Rifle, a weapon similar to a machine pistol with an under-barrel grenade launcher. It is not reloaded by terminals but by collected Dilithium crystals
If you get injured too much, get back to the Doctor, who is waiting at the mission's starting point. He will heal you, if spoken to.
Mission map: voy4 ==== Hazard Ops ====^ This chapter starts out with a briefing by Tuvok, who informs the hazard team about the current situation of Voyager, which is incapacitated for the most part. The teams next mission is laid out, another ship that seems to be vacated but still under power. The mission is to obtain information about the surrounding area. Foster goes into more details: Two teams will be deployed, each starting in another location, named Control Room A and B. Teams are lead by Foster and Munro. To ensure the information gathering mission is a success, the technicians are to by protected in particular.
Munro is to pick up his gear and go to the transporter room. After the briefing the player has the opportunity to talk to some of his team. Once at the Equipment room, quarter master Perfecto Oviedo offers Munro to test his weapons on the holodeck in the High Noon simulation. This is a good opportunity to get a feeling for the Scavenger Rifle.
Mission map: voy5
Holodeck Map: _holodeck_highnoon → This map is re-used for the the multi-player as map hm_noon.
Etherian Mission
In this mission you will initially only have the Phaser, the Phaser Compression Rifle and the Scavenger Rifle. Later on you will also be given the Stasis Weapon. As the latter two are powered by Dilithium crystals, make sure you use them not too wasteful. While the Weapons Energy Terminals will reload your weapons energy without any waste (same goes for the health terminals), the 75 units of energy taken by the crystals at once can lead to offcuts, that may limit your resources unnecessary. There are some steps in the missions, where you cannot go back. So at least reload your weapons before entering a transporter pad.
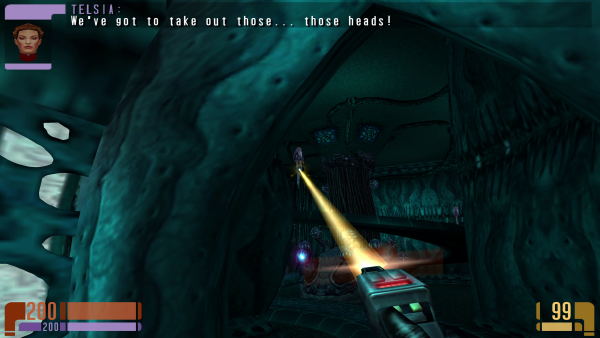
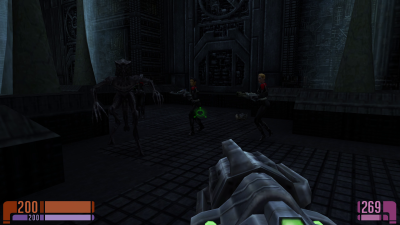
The Etherians are mostly beamed in by devices placed throughout the ship. At the starting location you can already see both kinds of them, the ones on the ground and the ones on the walls. You can destroy them, stopping new spawns by them. But if there are repairing fireflies, they will restore them shortly. You can see this in action at the starting location, too.
Only the Etherians are rather sturdy and require multiple shots to go away. The others are less robust. The approaching bomb type attackers are weak in particular. Grazing them with the Phaser is enough to dispose of them and the cheapest and fastest way of getting rid a lot of them in a very short time.
Data Retrieval
Munro starts out with two additional team members, Chell and Telsia. A second team commanded by Foster is beamed in somewhere else, but they are in contact with the player's team. The job is to retrieve data about the area Voyager is trapped in, from a derelict ship, which still is under power. This means escorting technicians to data terminals.
Once the other team tries to download information, an alarm rings. Same happens to the player's team. Moments later they are under attack. Munro's and Telsia's task is to protect Chell from them. After a few waves they cease their attacks, but the ship's shields are raised. Foster gives orders to meet up at Section 29. The starting point provides a health and a weapons energy terminal. Later on more terminals and also Dilithium crystals are available, to reload weapons.
While exploring the ship, looking for a way to get to the rendezvous point, they are attacked frequently. After a short trip they find a transport platform, that sends them across the ship.
Some doors and other obstacles need to be unlocked by switches in form of control panels. The first obstacle is the transporter at the starting location, that is elevated and is lowered by a switch. This part of the mission is basically a huge U-turn, that leads the player back to the starting point, where he can then use the now lowered transporter pad.
After entering the pad, the player is soon greeted by some wall-mounted gun type structures as well as some explodes-on-contact units, that slowly float at him. Both are not very sturdy, but their numbers may make it a problem for the player.
After some further progression they encounter their team mates. They are informed by Foster, that lowering the shields required taking out three power sources. Munro's team is tasked with taking out the main computer core while the other team takes out the backup power systems. New rendezvous point is the main computer core.
Upon going further, the player finds a new weapon, the Stasis Weapon and is promptly attacked by more opponents. This weapon basically works as a shot gun, allowing for high amounts of damage dealt in close proximity to targets. It's powered by Dilithium crystals.
Mission map: stasis1
Deep Echos
Munro's team progresses further, encountering more opponents along the way. A new type is also among them, a flying unit, that shoots at the team.
At some point the player encounters a power field, that turns on and hits Telsia, who vanishes as a result. Again, after using a control panel, a transporter pad is made usable. It leads to a position, where Chell needs to open another door for the two to continue. It also features panels, that shows some images.
Again, opponents appear, that attack both. At a specifically large hall, a lot of opponents appear. After taking all of them out, the player can continue. Chell and Munro encounter another one of the power fields. Once overcome, they reach a point, where they can turn off the computer core and clear the way for further exploration.
Foster's team is also already finished. Munro informs Foster about the loss of his team member. A moment later the other team sounds like being under attacks. Foster instructs Munro to take out the power core as well.
Mission map: stasis2
Encounters
The player enters another section of the map, where he is again attacked by opponents. In the process of defending themselves, a transporter pad takes damage. This is the first time, when the firefly like creatures, repairing the ship, get useful. Leading them to the damaged transporter is the task.
Using the transporter pad, the two can continue, getting attacked more and more. At some point Chell has to stay behind and keep a door open, so that Munro can continue. A combination of repairing fireflies and the energy field is to be overcome. Shortly after, Munro encounters Foster, who was the only one that got on.
Both continue to the main power core, being attacked along the way. They find their missing team members in stasis pods at some point. When reaching the power core, they are greeted by one more of the units that attacked them earlier. It informs the two of the fact, that nobody was killed. It states, that they are Etherians, traveling on kind of a colony ship to their new planet, that communication was not easy and that no hostilities were intended. They part way with the Etherian offering an alliance.
Mission map: stasis3
Intermission at Voyager 2
Renewal
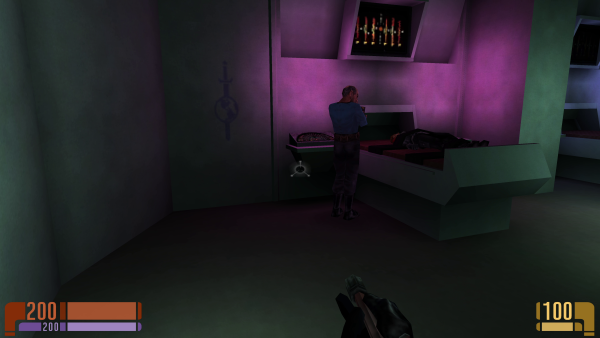
The team is back at sickbay, where Foster unstructs Munro to get checked out by the Doctor and report to Hazard Ops for debriefing. After getting a clean bill of health, Munro proceeds.
Mission map: voy6
Union
Munro arrives at Hazard Ops on deck 4. His Team members are discussion the unsatisfactory progression of their last mission and the results it has brought. Foster and Chakotay brief them on the situation. A structure named »The Forge« seems to be causing the dampening field trapping Voyager. Isodesium seems to help the situation and is present in some sort of kludged together base of the already encountered scavengers. They raid newly arriving ships for their supplies. The task ahead is retrieving the Isodesium present there. The mission is meant to be carried out as a stealth mission, which Forster is describing in more detail. The team is instructed to grab their gear and proceed to the shuttle bay, to be transported over to the scavenger base.
Munro is handed the Compound Grenade Launcher (stated as being named Compound Grenade Rifle). The player can also invoke the Holodeck mission »Camelot« to test out the new weapon.
Mission map: voy7
Holodeck map: _holodeck_camelot (this map is re-used as multi-player map hm_cam)
Departure
Munro arrives at Deck 10. The Delta Flyer is stuck due to jammed docking clamps. The technician cannot reach the proper spot. Munro is ordered to solve the problem. After that, the group leaves for the scavenger base.
Mission map: voy8
Scavenger Mission
The Visit
Mission map: scav1
Dangerous Ground
Mission map: scav2
Conflicting Views
Mission map: scav3
Conflicting Views (Pt 2)
Mission map: scav3b
Disorder
Mission map: scav4
Infiltration
Mission map: scav5
The Hunter
Mission map: scavboss
Intermission at Voyager 3
Fallout
Mission map: voy9
Borg Mission
Proving Ground
Mission map: borg3
Information
Mission map: borg4
Covenant
Mission map: borg5
Infestation
Mission map: borg6
Intermission at Voyager 4
R & R
This chapter introduces the Photon Burst, which you can test on the holodeck in the Temple simulation.
Holodeck map: _holodeck_temple → This map is re-used for the the multi-player as map ctf_kln1.
Mission map: voy13
Visual Confirmation
Mission map: voy14
Offense
Mission map: voy15
Dreadnought Mission
The Breach
Mission map: dn1
Command
Mission map: dn2
Primary Encounter
Mission map: dn3
The Skirmish
Mission map: dn4
Defensive Measures
Mission map: dn5
Attunement
Mission map: dn6
Array
The fact, that the mission map dn7 seems to missing, suggests, that a part of the campaign got scratched at some point.
Mission map: dn8
Intermission at Voyager 5
Invasion
Mission map: voy16
Decisions
Mission map: voy17
Forge Mission
External Stimuli
Mission map: forge1
Matrix
Mission map: forge2
Onslaught
Mission map: forge3
Visual Magnitude
Mission map: forge4
Dissolution
Mission map: forge5
Command Decision
Mission map: forgeboss
Epilogue at Voyager
Mission map: voy20

